Selection and mask views
This lesson shows the different ways the selection and mask can be viewed.
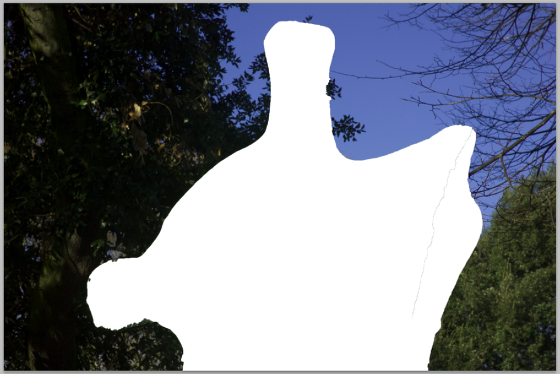
Original image
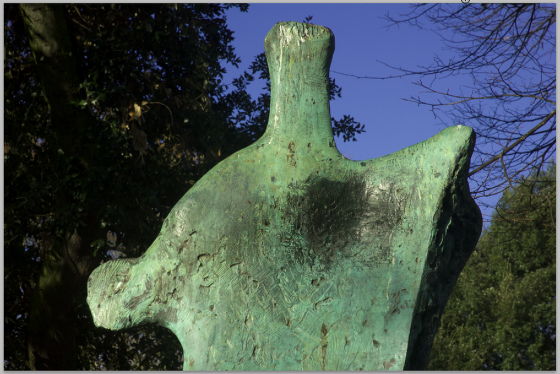
The sculpture and, later, the background will be removed from the image in this process showing how selections and masks are reciprocal.
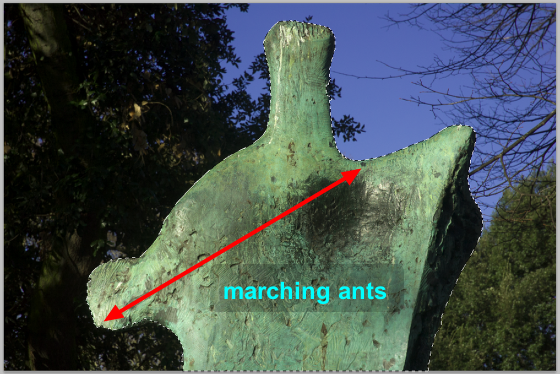
Background selection
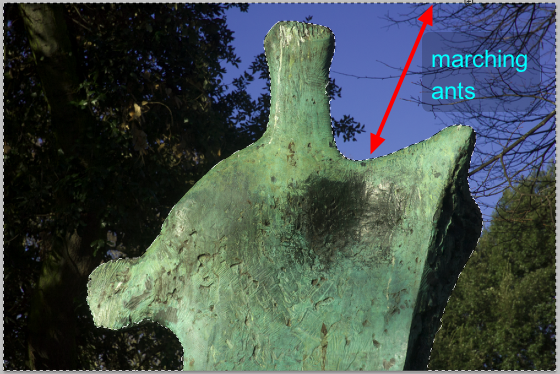
All of the background has been selected, but not the sculpture.
Note how the marching ants are positioned at both the edge of the frame and the sculpture.
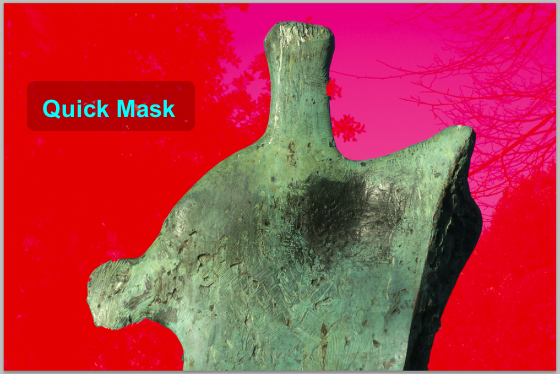
Quick Mask
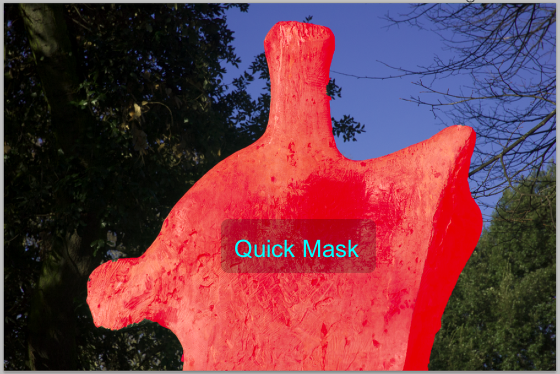
Selecting the Quick Mask, (Shortcut: Q), shows the areas of the image which are not selected. This is represented by the Ruby Lith areas.
These areas of the image will be protected in the final image.
Select Q, again to exit Quick Mask.
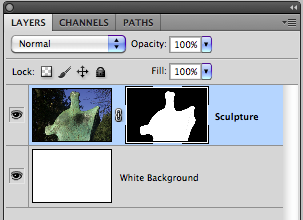
Layer Mask
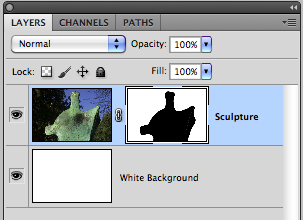
Using the original selection now make a Layer Mask,
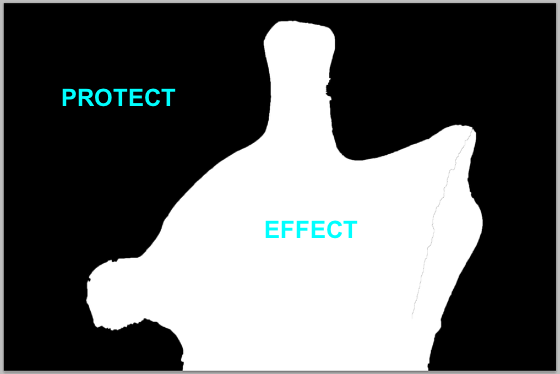
The mask
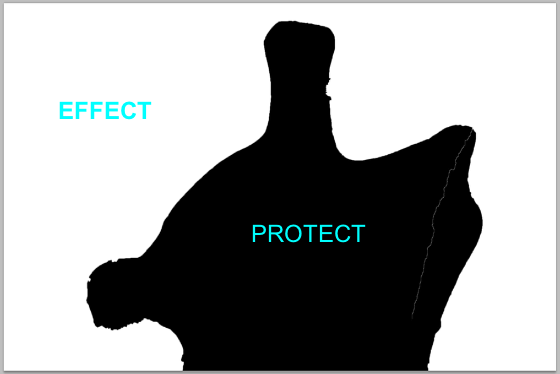
This black mask will now protect the sculpture area from view, the white areas will allow the background image to be viewed.
The result
Note, the black mask protects the sculpture (from view), but the white areas of the mask effect the background of the image.
Remember
:Black protects, White effects.
Invert the original selection
Retuning to the original selection, and then Inverting the selection, it becomes possible to remove the background area from the original image.
The Quick Mask
Selecting the Quick Mask, (Shortcut: Q), shows the areas of the image which are now not selected. This is represented by the Ruby Lith areas.
These areas of the image will be protected in the final image.
Select Q, again to exit Quick Mask.
Layer Mask
Using the now inverted selection, make a Layer Mask,
The mask
This black mask will now protect the background area from view, the white areas will allow the sculpture to be viewed.
The result
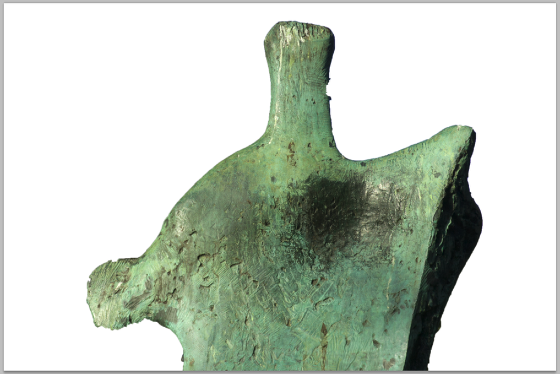
Note, the black mask protects the background (from view), but the white areas of the mask effect the sculpture..