Simple selection and mask
In this tutorial you will make a mask and substitute one sky for an other..
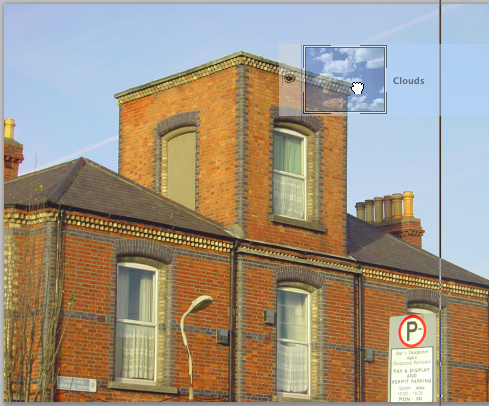
Two images

Open both images. Open the Layers palette also.
Duplicate layer in second image.
Drag the clouds layer from its Layer palette to the image f the building.
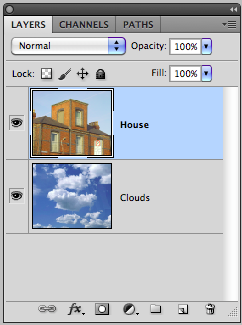
Two layers
This action will place the Cloud layer above the background layer.
Reorder the layers

Drag the Cloud layer to below the House layer.
Ensure that the background layer is not locked.
Magic Wand Tool
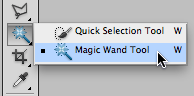
Select the Magic Wand Tool from the Tools palette.
Selection properties

- Enter Tolerance: 8. It may be necessary to enter a higher number if 8 proves not to be too low and not having the required effect. If so, then Enter 16 0r 24.
- Tick both boxes: Anti-alias and Contiguous.
- Leave Sample all layers un-selected unless you need to select from all the visible layers.
Select House layer
Ensure the the House layer is selected.
Select the sky
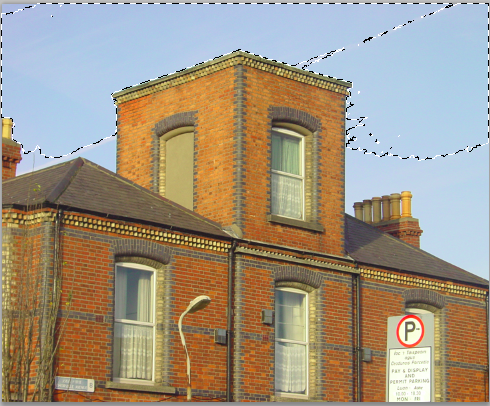
Using the Magic Wand select the sky on the House layer.
Adding to the selection
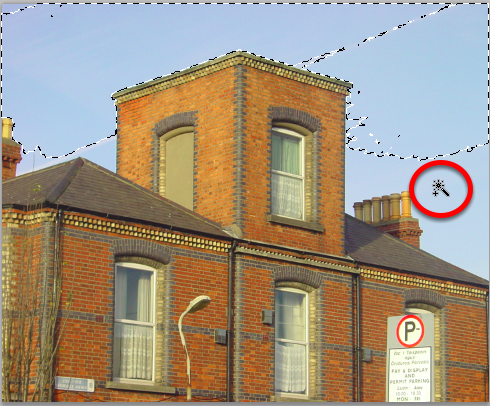
Hold down the Shift key with the Magic Wand in order to add to the selection. Note the + beside the Magic Wand which indicates that you are adding to your selection.
Hold down the Option key with the Magic Wand in order to subtract from the selection.
Sky selection

When your sky is completely selected, the selection will need to be inverted in order to mask the sky portion of the image.
Invert selection
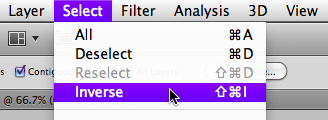
Go: Select > Inverse.
This will invert the selected area for the unselected areas.
Make layer mask
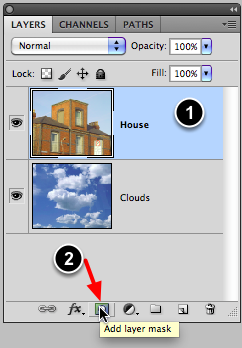
- Ensure that the House layer is active.
- Select the Add Layer Mask icon.
The mask
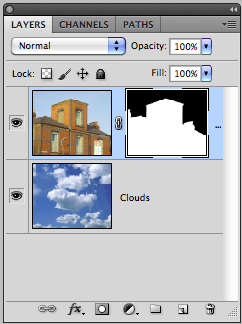
This will now create a layer mask on the House layer which will "remove" the sky from the image leaving only the building portion.
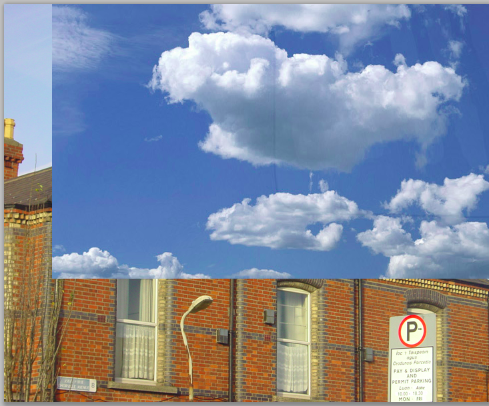
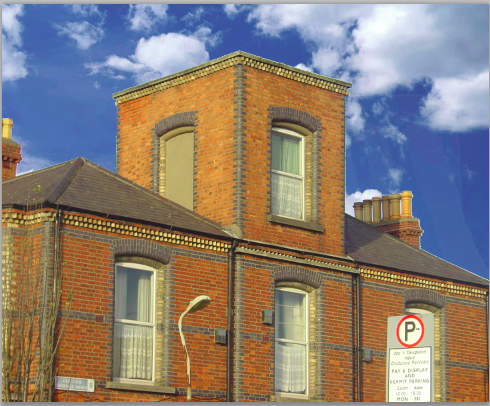
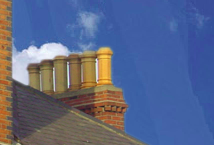
Combined layers
Mask edges
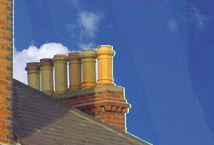
Check the mask edges to see if it needs further adjustments. Note the edge line around the chimney pots.
Masks palette

Open the Mask palette.
Select: Mask Edge . . .
Refine mask
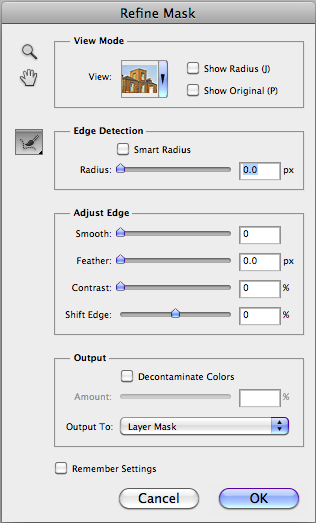
Using the Refine Mask tools, adjust the masks edges to fit the building contours.
Mask edges
The mask edges should no longer be visible between the building and sky.
Completed image

The composite should now be complete as a layer and masked image, and without any destructive image editing.