Turning a path into a mask
In this tutorial you will take a path and turn it into a mask.
Open the image to be masked
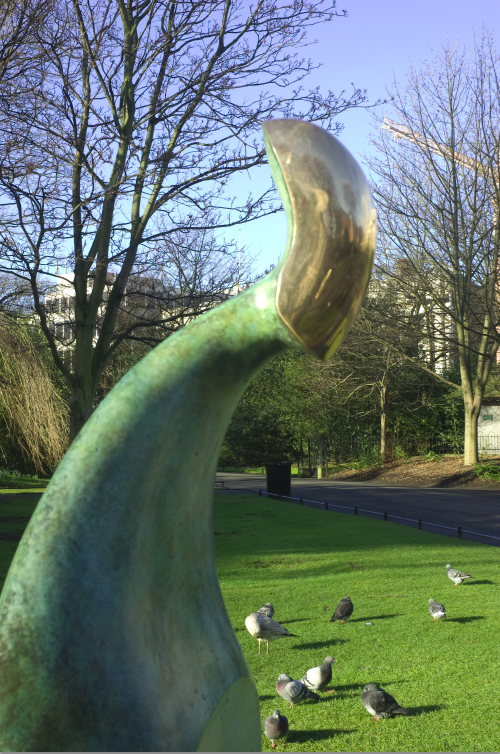
Make a path around the image which is to have its background masked in the normal way.
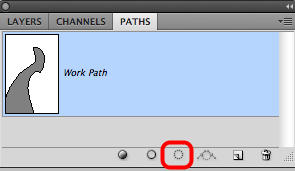
Paths Palette
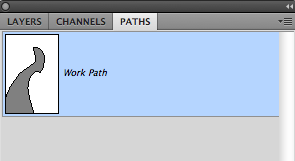
Make sure that the path is active in the Path Palette.
Layers Palette
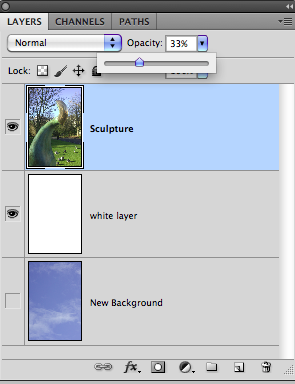
In the Layers Palette, Select the layer to be masked and reduce the Opacity to about 33%.
Place a layer filled with opaque white on the layer below.
Tip: this will make the Path more visible against the image which will temporarily be much lighter.
Check the Path
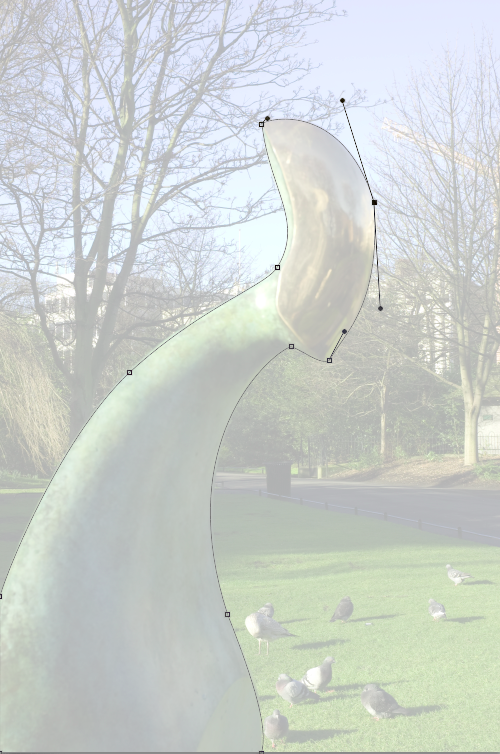
Check the Path to see how it fits around the subject.
Enlargement
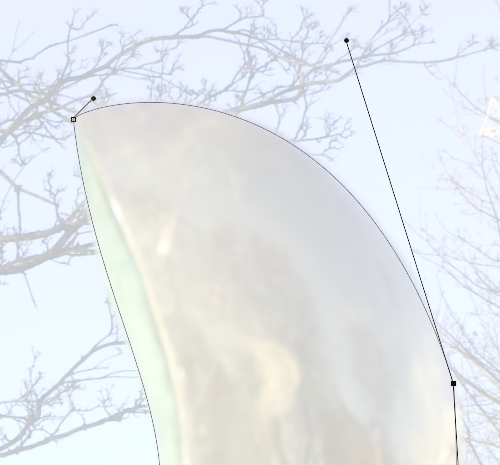
Enlarge the image to 200 or 300%, and again check the edges.
Tip: Ideally, the Path should be about 2 or 3 pixels in from the edge..
Path to selection
With the path active, select the icon Load path as selection.
Selection
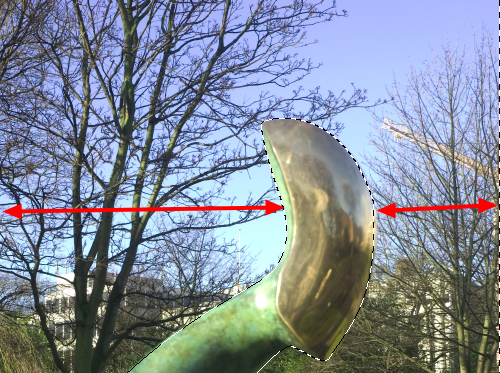
The path is now loaded as selection.
Invert selection
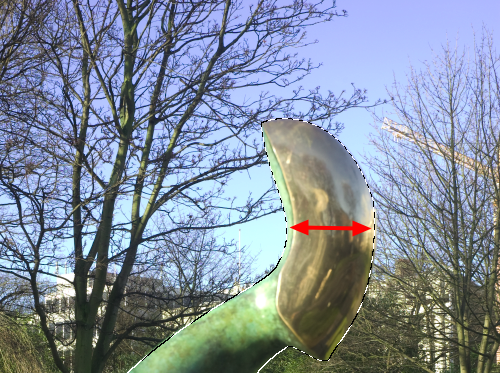
Invert the selection, so that the subject will be white on the mask and the background will be black.
Layers
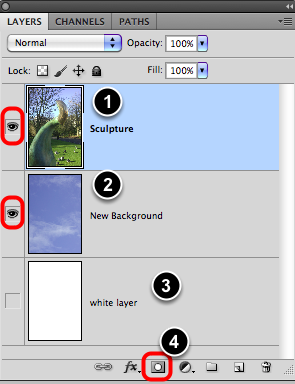
- Ensure that the Subject layer is visible and selected.
- Ensure that the new background layer is also visible.
- The white layer is not needed any longer and can be turned off or deleted.
- Now Select the New Layer Mask icon.
Layer mask
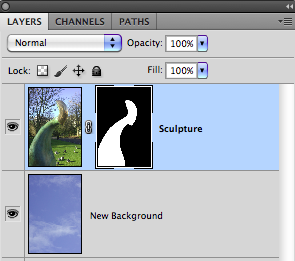
This should make a new Layer Mask, showing the subject against its new background.
Refine Mask
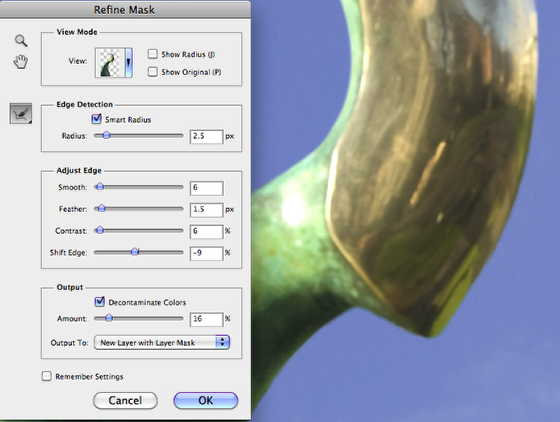
Enlarge the image to at leat 100%.
Use the Refine Mask Palette tools to complete the masking.
Final image
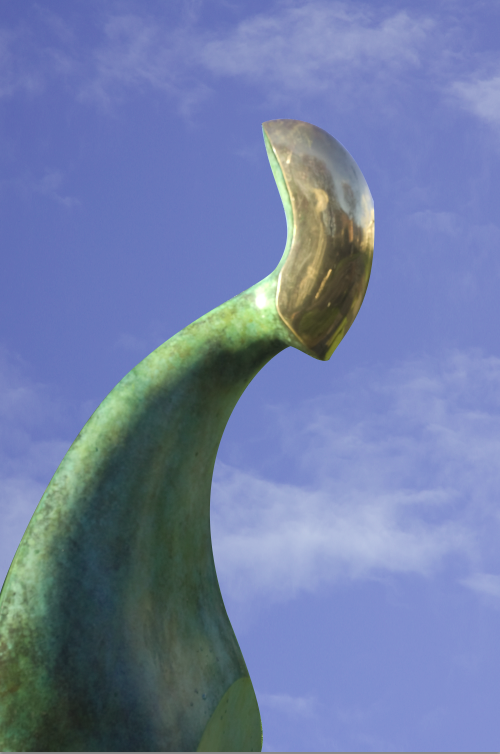
Check the final image and if necessary return to the previous step the further refining the masking.
Note: the original path is saved with the image.