Highlight Tints
In this lesson you will convert an image to monochrome, make a shadow mask and tone the highlight colours
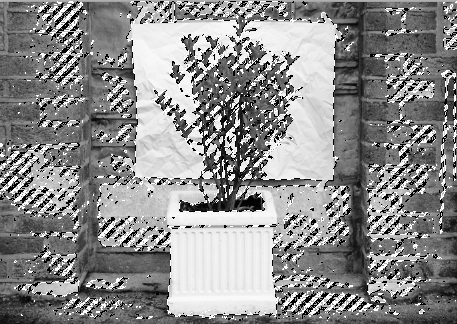
Colour Image
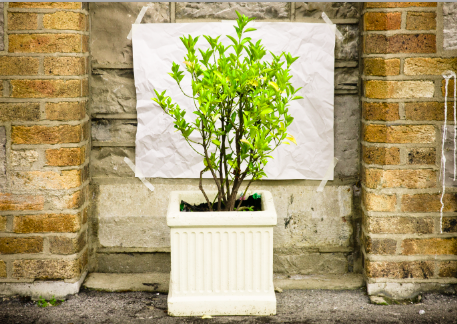
Open a colour image from Lightroom in Photoshop.
Convert to monochrome
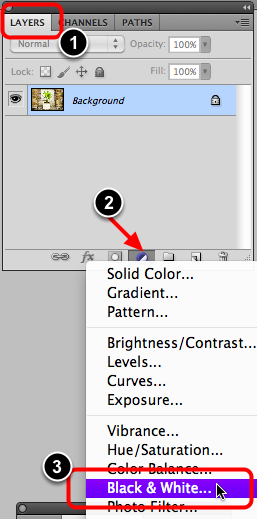
- Open the Layers tab
- Select New Adjustment Layer icon.
- Choose Black & White . . .
Solid Colour
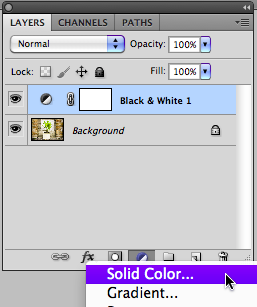
Black & White Adjustment Layer

Black & White adjustment layer should now be immediately above the Background layer.
Convert colour to monochrome

Adjust the Black & White adjustment layer sliders to maximise the monochrome effect.
Channels
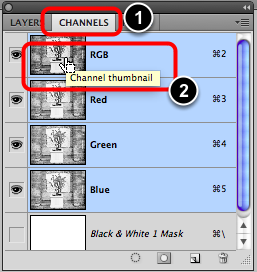
- Select the Channels tab.
- Command + Click on the RGB Channel icon.
Marching ants
If you did the previous step correctly, you will have selected the image as indicated by the marching ants.
If not then repeat on the RGB channel.
Solid Co;our
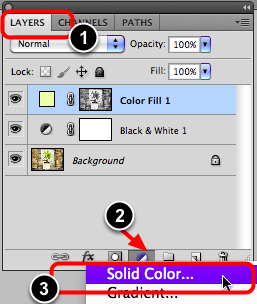
- Open the Layers tab again.
- Select New Adjustment Layer icon.
- Choose Solid Color . . .
Highlight colour

From the Solid Color palette, choose a colour for the highlights.
Adjust colour

- Change the Blend to Color.
- Adjust the Opacity to about 20%.
Final image
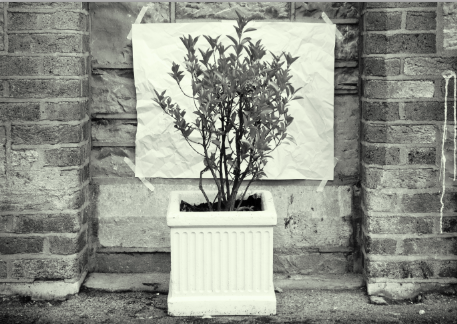
The image will now have a tinted highlight colour without any colour in the shadows.