Setting the Histogram
In this lesson you will set the White and Black points of the Histogram. This refers to the spread of Tones across your image.
Note: the initial image, a RAW file, will look flat and dull before processing. This is normal.
Histogram sliders
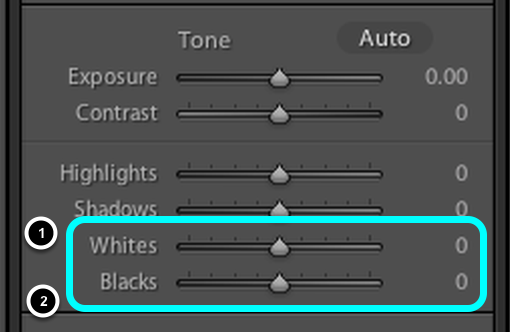
- The limit of the lightest tones is controlled by the Whites Slider.
- The limit of the darkest tones is controlled by the Blacks Slider.
Initial tonal range
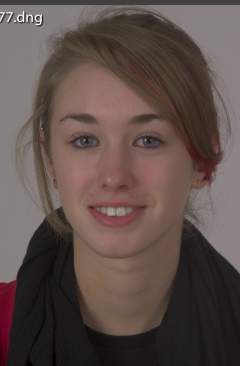
The initial range of tones is restricted and needs to be expanded by resetting the Histogram.
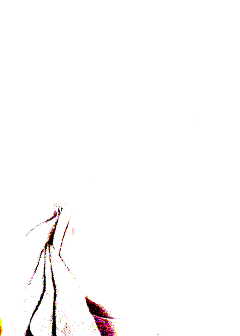
Set the Whites
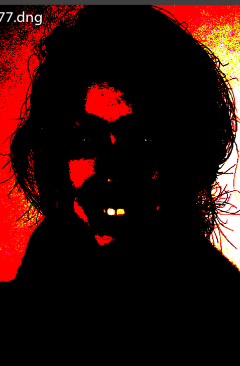
- Hold down OPT [Alt} key and increase the Whites slider to about +85.
- White areas (see above image) represent area of the image which will be clipped in the whites, i.e. no detail.
- Now, hold down OPT key again and decrease the Exposure slider to about +45. This should be to the point where all white areas have just disappeared.
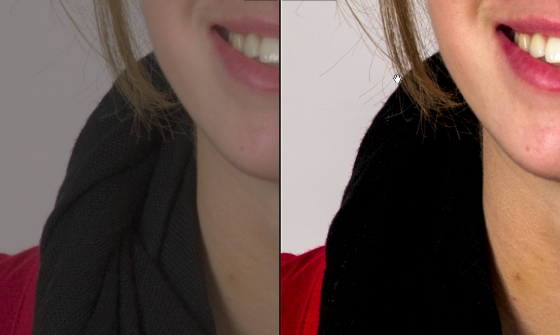
Before and After Views
Select the Before & After Views button to view your image's progress.
Different Before and After views
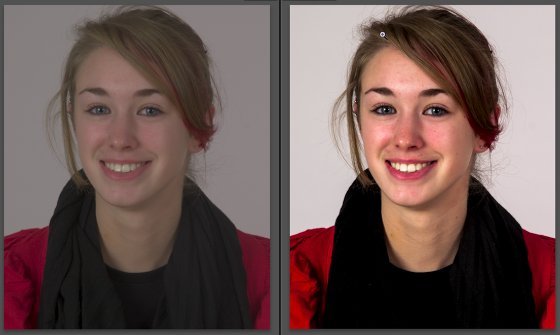
Using the same Before & After Views button, cycle through different views until you have the image as below
Update the Before and After views
Select the button with the left pointing arrow. This will now update the Before view with the After view,
Note: both images will now appear the same, but you will only be making changes to the After view.
Set the Blacks
Now repeat the same methodology using the Blacks slider.
- Hold down OPT key and increase the Blacks slider to about -25
- Black areas (see above image) represent area of the image which will be clipped in the Blacks, i.e. no detail, therefore pure black.
- Now, hold down OPT key again and decrease the Blacks slider to about -12. This should be to the point where there is still some small amount of black remaining.
Compare the Before and After Black areas
Enlarge the black areas and note that the Blacks are now darker but also lacking in detail.