Monochrome Images
In this lesson you will make a monochrome (Black & White) image
Open the colour image to be converted

Find the White Point
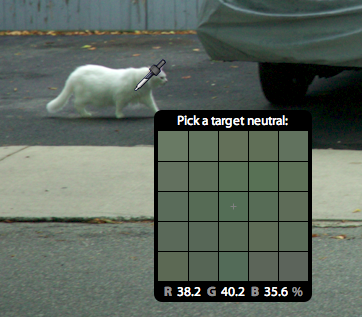
Use the White Balance Selector to find the White point.
In this case, using the shadow area of the white cat..
Black and White
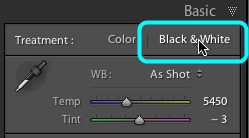
Now Select Black & White.
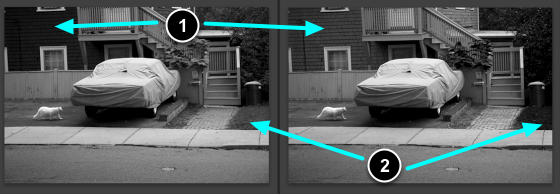
Before and After Views
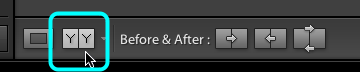
select the Before and After views.
Colour and Black and White views
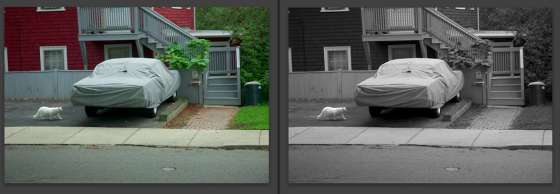
You now have both the colour and B/W views of your image on screen. As you make modifications, only the After image will change.
Levels
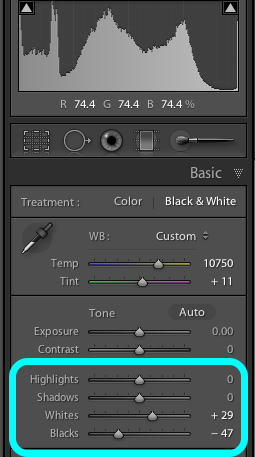
- Select the Levels tools and apply as required.

Curves
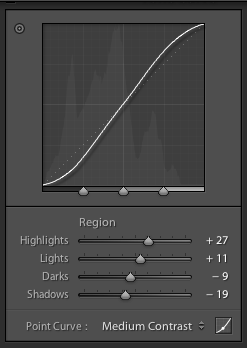
- Select the Curves tools and apply as required.
Colour/tone modification
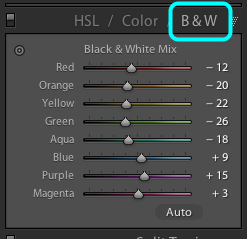
Now open the Black & White Mix tools.
Black and White Mix
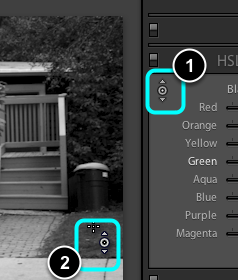
- Select the Target Adjustment tool.
- Place the crosshairs of the tool over a "coloured" area.
modifying tones based upon original colour
- Hold the Mouse down and move the it upwards to lighten the tone for the corresponding colour, e.g.. Reds are modified to become a lighter greys.
- Hold the Mouse down and move the it downwards to darken the tone for the corresponding colour, e.g.. Greens are modified to become a darker greys.
Complete the modification
Select Done.
View finished image
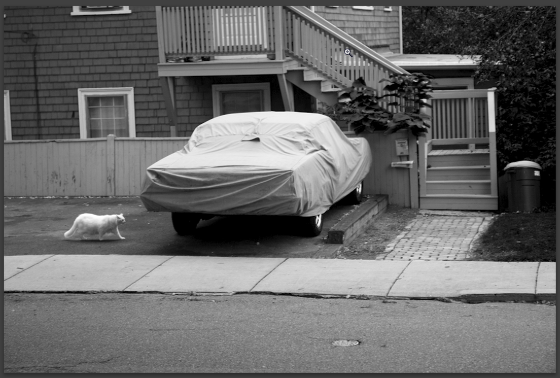
Now view your final image.