Make a Collection
In this lesson you will learn how to make a collection in order to gather a group of images together in. This will be separate from the Quick Collection.
New Collection
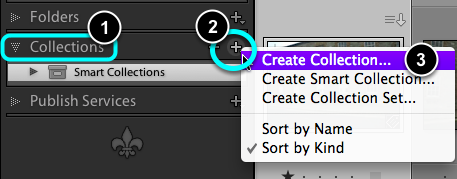
- In the Left Panel, open Collections.
- Click on the + icon.
- Choose Create Collection ...
Name the Collection
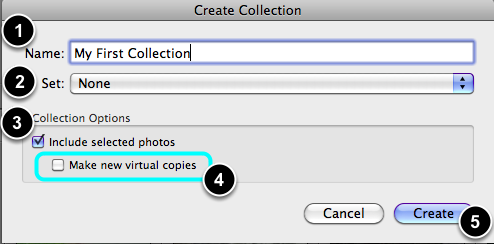
- Give your Collection a name.
- Under Set: choose None.
- Tick the checkbox if you want any already selected images to go into the new collection.
- Do not tick the Make new virtual copies checkbox.
- Finally select Create to finish the process.
Viewing the new collection
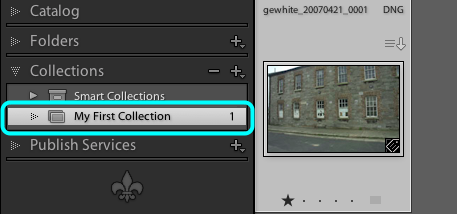
Under Collections, your new collect should be visible.
Choose it. If it has any images already in it already, only they will be on view.
Adding more images to your collection
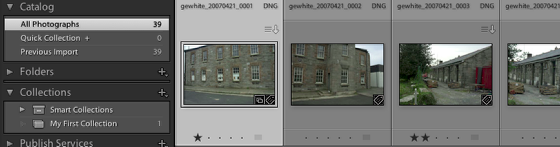
Return to the All Photographs view, make sure that your Collections panel is also open at the same time.
Tip, if both panels do not stay open at the same time, then Ctrl + Click on the panel name and deselect Solo Mode.
Drag and Drop
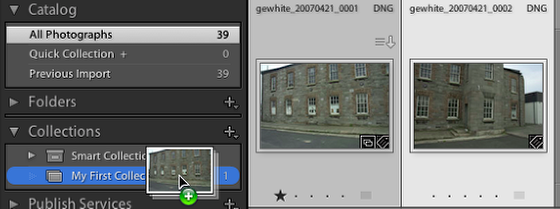
Select the images to add to the Collection. Drag your images over the Collection name, when it changes colour Drop the files.
Updated collection
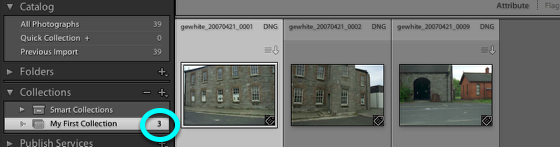
The files will have been added to the collection and the total of images in the collection revised to reflect the addition.
Removing an image from the collection.
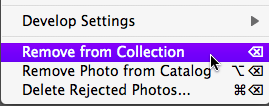
To remove a selected image from a Collection, do one of the following:
- Go Photo > Remove from Collection.
- Go Ctrl + Click , then choose Remove from Collection.
- Select the image and press Del.
Note, none of these options deletes your file, it simply removes the imgae from the collection's membership list.