Exporting a JPEG file
In this lesson you will learn how to set up Lightroom to export a Jpeg image to a set required dimension
Select files
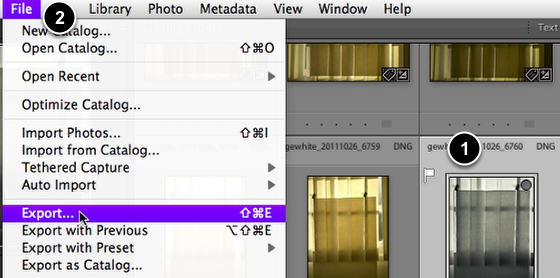
- Select the files for export.
- Then go File > Export . . .
Export Panel

Select Export to: Hard Drive
Export settings are made on the right hand panels.
Settings can be saved as Presets for future use on the left by selecting the Add button.
Export Location
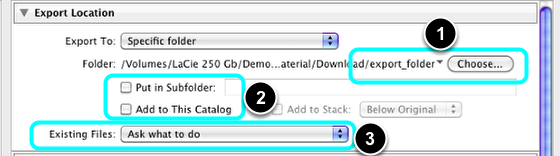
- Choose the destination folder on your external drive,: Lightroom Exports.
- Leave the two boxes unselected.
- Choose: Existing files: Ask what to do.
File Naming
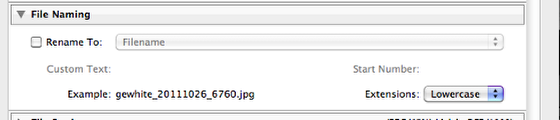
File names should remain the same as the original file, so do not select the box.
File Settings

- Select Format : JPEG.
- Set Quality: 60.
- Select Color Space: AdobeRGB (1998).
- Leave the remaining boxes unselected.
Image Size

- Select the box and then Short Edge.
- Input 8.00 and choose Inches.
- Input the Resolution:: 240, and choose Pixels per inch.
Sharpening, Metadata and Watermarking

Leave the remaining boxes unselected, except Write Keywords as Lightroom Hierarchy.
Post-Processing
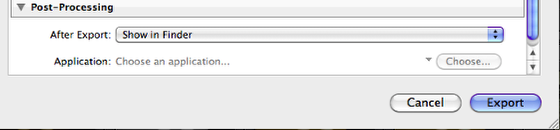
Select: After Export: Show in Finder.
You can now save your settings as an Export Preset at this stage by selecting the Add button on the Preset panel (left).
To export your files now, select Export.
Check in Finder
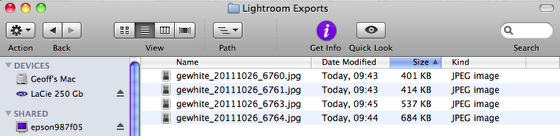
Check your exported files in your Lightroom Exports Folder.