Cropping the image
In this lesson you will learn to crop and straighten an image.
Crop Tool

Select the Crop Tool.
Maintaining Aspect Ratio
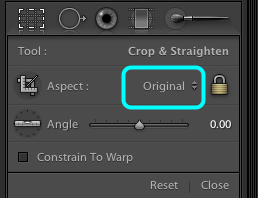
Select the drop down menu.
Original Aspect Ratio
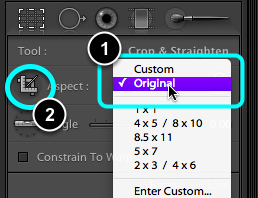
- Choose Original, this will maintain the same Height to Width ratio as the original exposure.
- Select the Cropping Tool.
Make the Crop
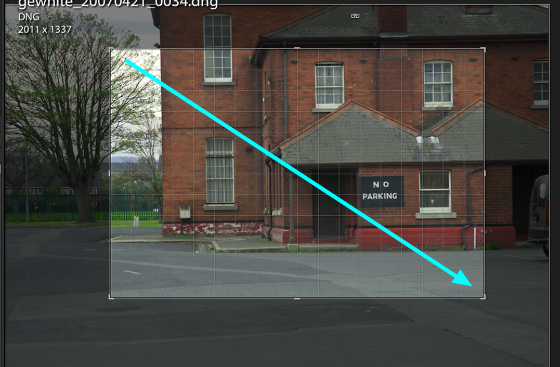
Drag the tool across the image to make an initial crop.
Refining the crop

Select one of the corners or sides of the crop and drag it to the required position.
Complete the crop
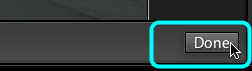
Select Done when you are finished cropping your image.
Straightening an image

Select the Straighten Tool.
Apply straightening
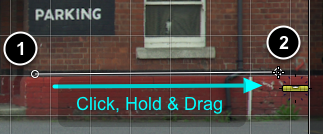
- Click, Hold and Drag it along a section of the image which could be used as a guide, e.g.. an architectural feature.
- Release the Mouse.
- The image will rotate slightly.
- If you didn't get it right, simply CMD + Z, to undo the change, or take a step backwards in the History Panel.
Note: the cropping of an image in LR does not destroy any image data, your original image data is unaffected.
Reseting an image

You can return an image to its original full frame by Selecting: Reset.
Finding cropped images

Cropped images a can be identified in the Filmstrip by the small icon on the bottom right of a cropped image.